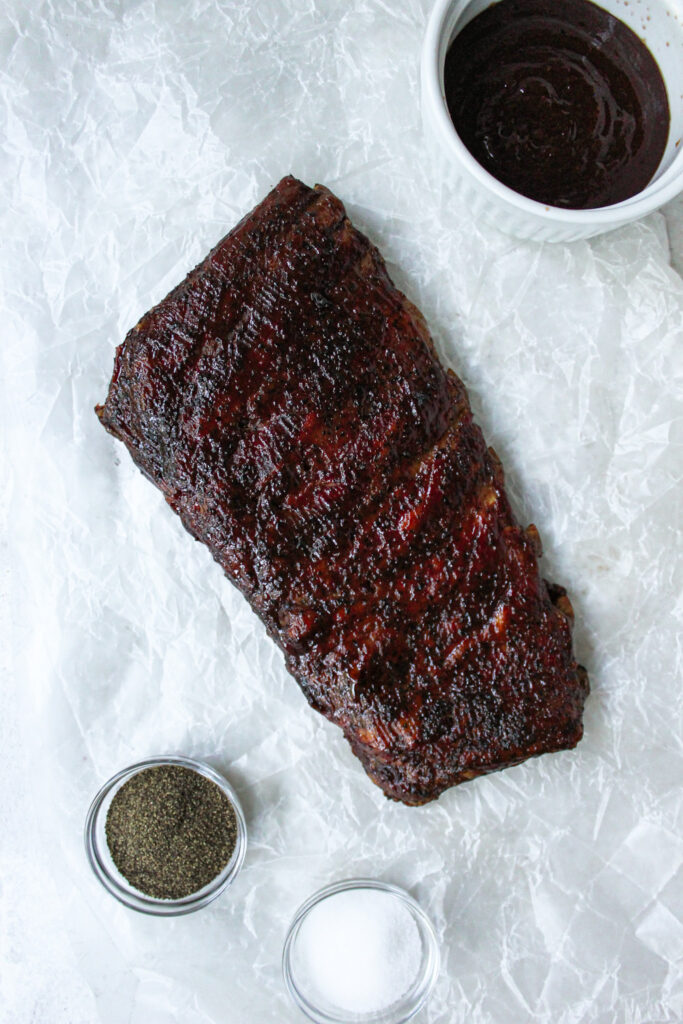
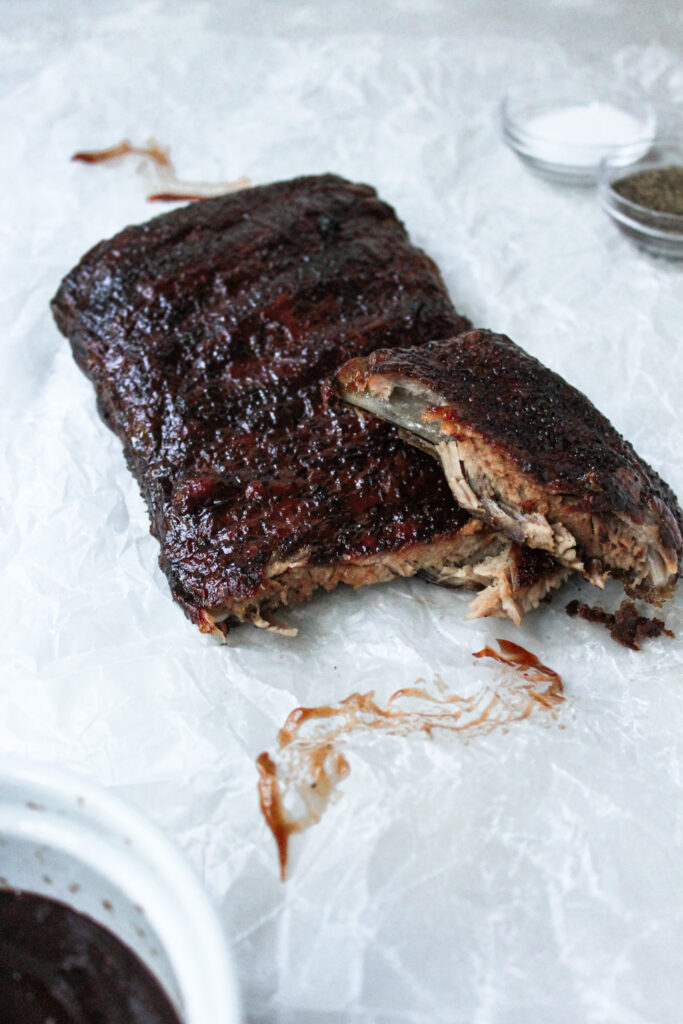
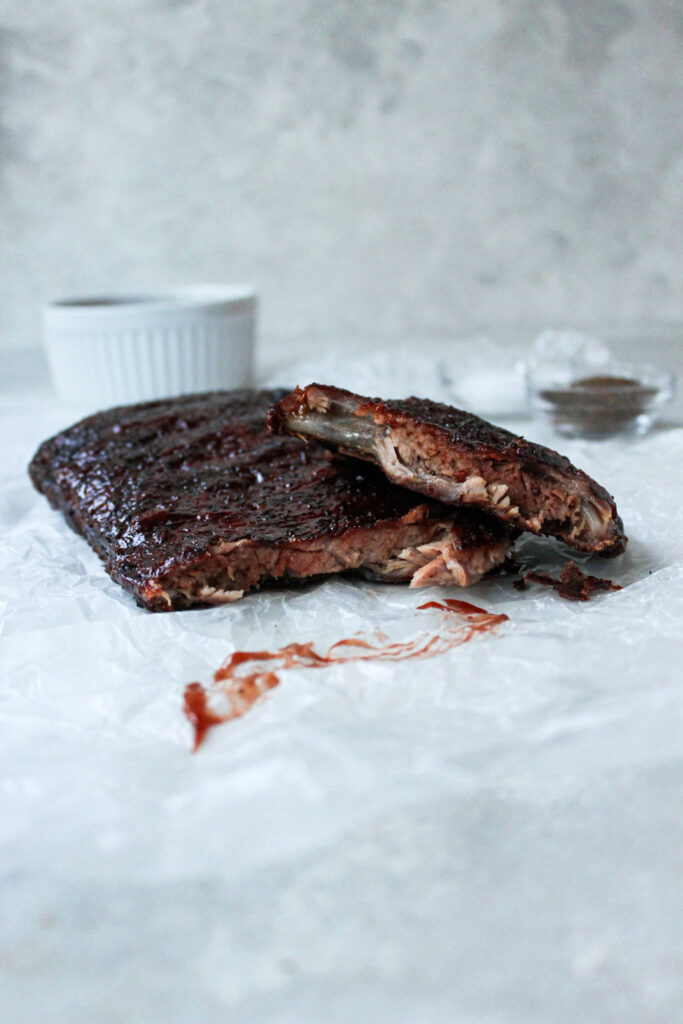
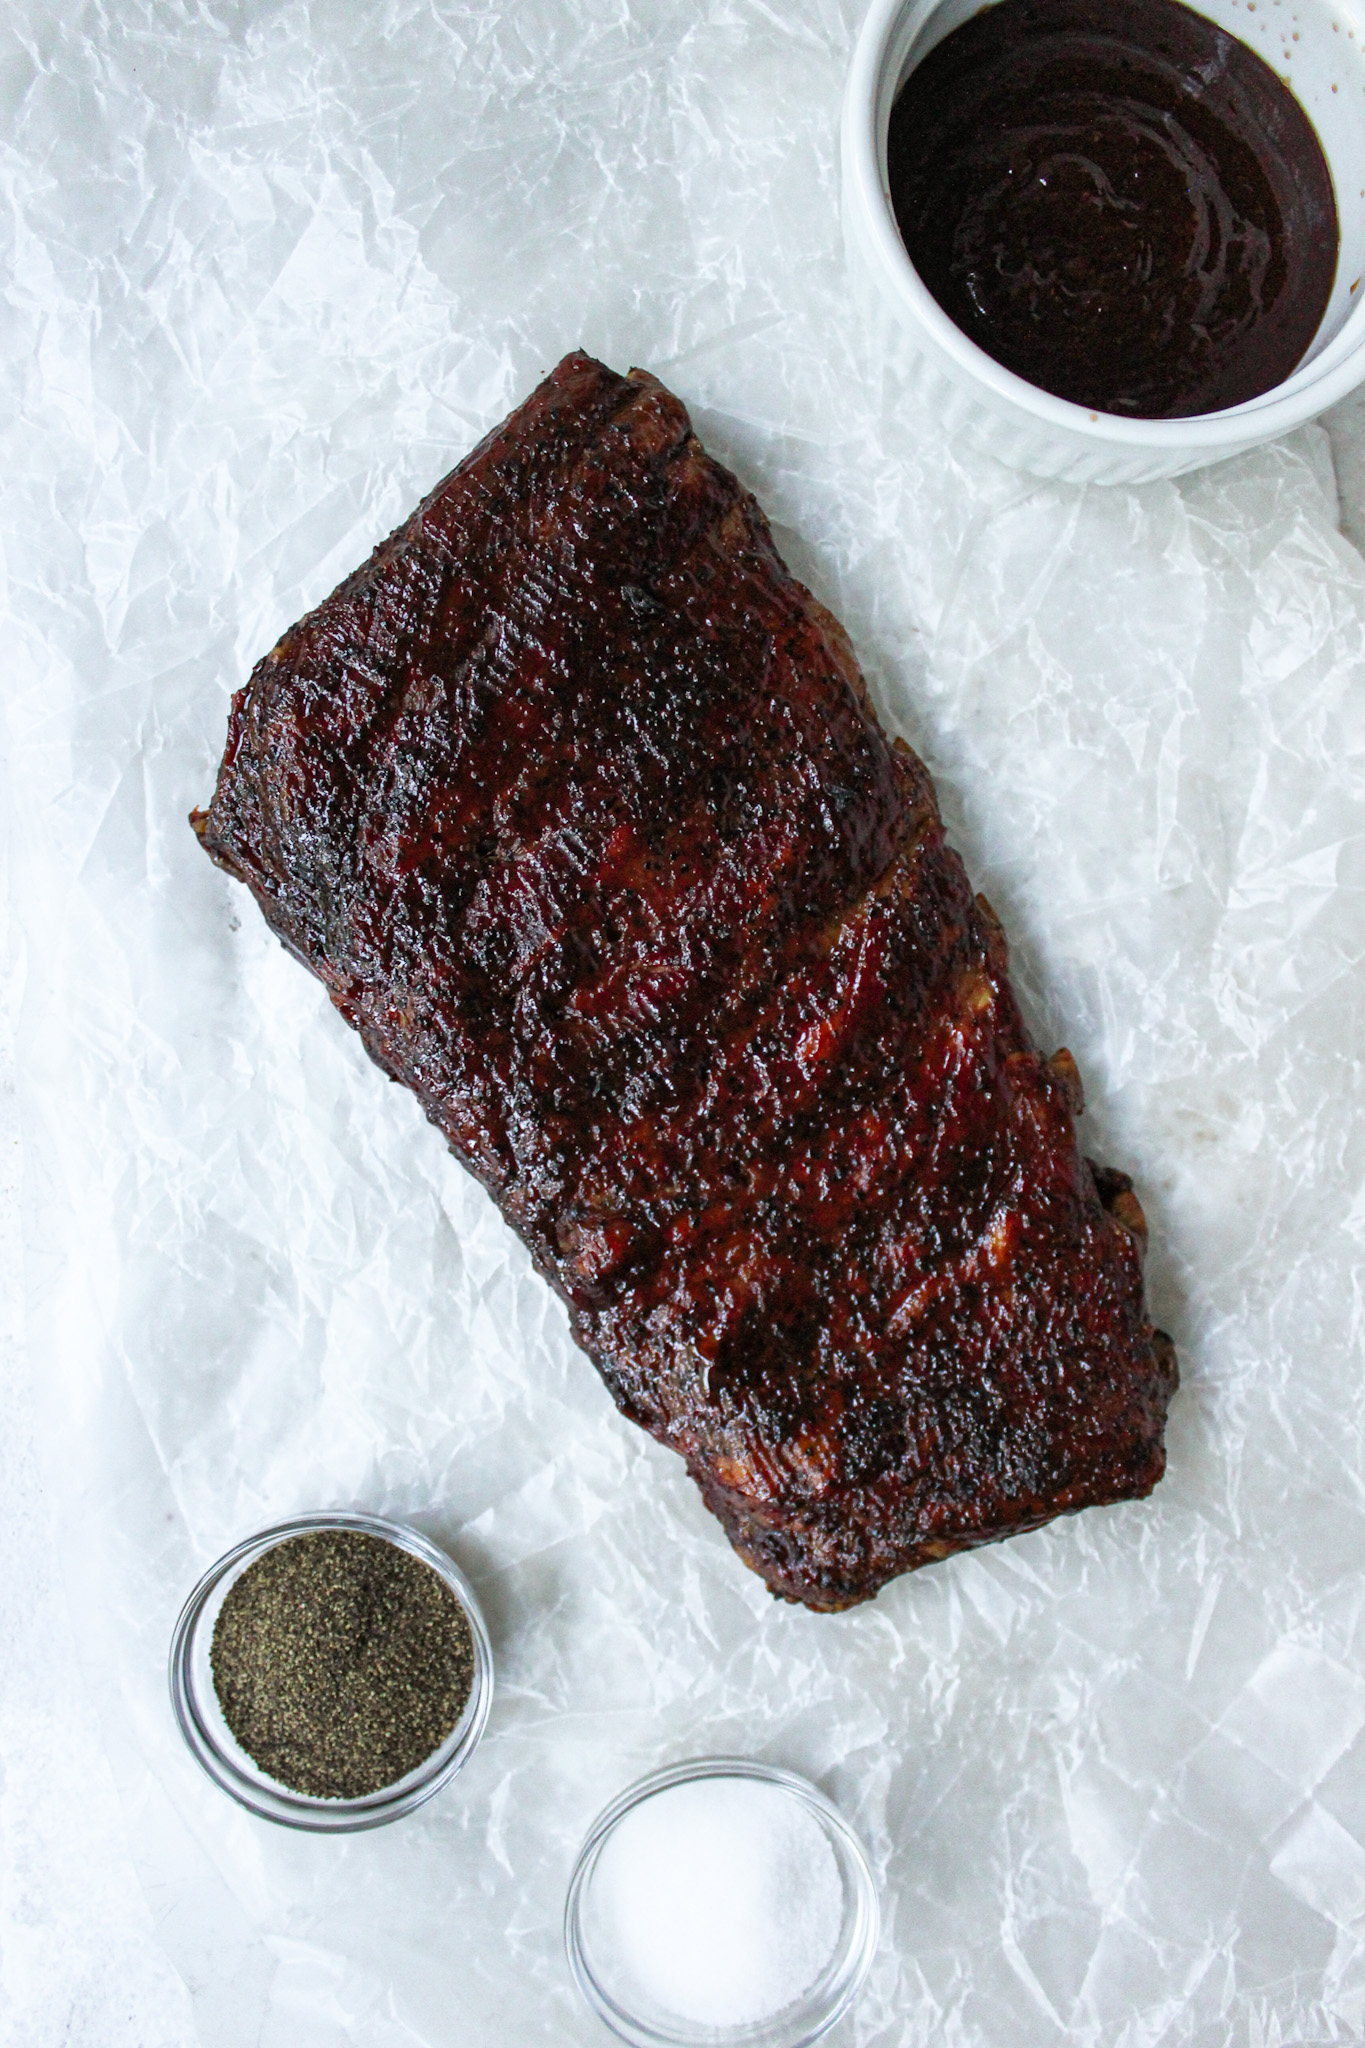
This St. Louis Smoked Ribs recipe is one of the easiest, tastiest, and most tender ribs recipes you can try in an electric smoker! With just a couple of ingredients and three main steps, you’ll have a 5-star restaurant-quality meal after an easy afternoon of smoking. Lastly, the final bark and color are the best I’ve gotten from a ribs recipe, so far, and the smell brought the neighbors to the yard. If you’re looking for a great new St Louis Smoked Ribs recipe, read on!
Jump to Recipe
Smoking the St Louis Ribs
These simple St Louis Smoked Ribs are incredibly easy to make as they only have three key components to the smoking portion of the meal.
Phase 1 A: Smoke the ribs uncovered at 205 degrees Fahrenheit for 2 hours
1 B: Smoke the ribs uncovered at 250 degrees Fahrenheit for 2 hours
Phase 2: Cover the ribs in aluminum foul and smoke the ribs at 250 degrees Fahrenheit for 30 minutes
Phase 3: Smoke the ribs uncovered with a BBQ glaze on top for 25 minutes

Common Questions for Smoked Ribs
No, while they should be similar, no two meats will be the exact same size. Go by color and tenderness of the ribs. Before taking the ribs off at the end, ensure the tenderness is as desired. Insert a meat thermometer into the ribs to gauge the tenderness.
No worries! Just cut the ribs in half to make it fit in your smoker.

Tips and Tricks for Perfect St Louis Smoked Ribs
- Salt: It can be easy to over-salt the ribs, use coarse salt and pepper to better gauge your salt density
- Bone Appearance: Check for desired bone appearance towards the end of Step 1 B. If you want even more bones showing, cook the ribs in this step for a little longer than directed.
- Bark: Even with just salt and pepper, a dark-colored bark is attainable. Even with the brief wrapping period, the final bark will come out perfectly.

St. Louis Smoked Ribs
Equipment
- Electric Smoker
Ingredients
- 1 tsp Coarse Salt (per rack of ribs)
- 1 tsp Coarse Black Pepper (per rack of ribs)
- 1 tbsp Apple Cider Vinegar
- 1 tbsp Water
- BBQ Sauce (for topping)
Instructions
Prepping the Smoker
- Soak 2 handfuls of wood chips (I used Hickory) in a bowl of water for 30 minutes.
- Preheat smoker to 205 degrees Fahrenheit.
Prepping the Ribs
- Crosshatch the membrane on the backside of the ribs with a sharp knife. Slice the membrane horizontally a vertically to ensure there are small square sections.
- Combine 1 tsp of coarse salt and 1 tsp of coarse black pepper. Sprinkle half of the mix evenly on each side of the ribs.
- Let the ribs sit for about 10 minutes or until the smoker is finished preheating.
Smoking the Ribs
Phase 1
- Smoke the ribs for 2 hours at 205 degrees Fahrenheit. At the 2 hour mark, there should start to be some light color to the ribs.
- Smoke the ribs for another 2 hours at 250 degrees Fahrenheit. Check the ribs at the 1 hour 30-minute mark for the desired color and bone appearance. Smoke for another 30 minutes if not to the desired color or if the bones aren't showing enough yet.
Phase 2
- Remove the ribs from the smoker and take them inside.
- Tear a piece of aluminum foil big enough to wrap the ribs.
- Mix 1 tsp of apple cider vinegar and 1 tsp water together. Coat the middle portion of one side of aluminum foil with the mix. The whole mix will likely not be used. It is just used to add some extra moisture to the wrapping portion.
- Place the ribs meat side down on the coated foil. Wrap the ribs, ensuring the foil does not tear.
- Put the wrapped ribs back in the smoker at 250 degrees Fahrenheit for another 30 minutes.
Phase 3
- Remove the ribs from the smoker and place them on a plate. Meat side up.
- Brush desired amount of BBQ sauce on the meat side of the ribs, covering the entire surface.
- Return ribs to the smoker for 25 minutes at 250 degrees Fahrenheit.
- Remove ribs from the smoker and let them rest for 20 minutes.
- Top with more BBQ sauce, as desired. Enjoy!
Notes
Did you make this recipe or want to try it out? Let me know in the comments or on Instagram!
Instagram: Click Here
Want to check out some other electric smoker recipes? Click Here

Best ever! Thanks for sharing 🙂